Dummy Dome Camera Installation: A Comprehensive Step-by-Step Guide
Dummy Dome cameras, as visual deterrents, enhance property security without complex setup or monitor…….
Dummy Dome cameras, as visual deterrents, enhance property security without complex setup or monitoring costs. A Dummy Dome Camera Installation Guide provides step-by-step instructions for optimal placement and connection to achieve clear footage day/night, accurate motion detection, and a seamless integration into surroundings. Proper tool selection and regular testing are crucial for fine-tuning the security system's effectiveness.
Discover the power of deterrence with our comprehensive Fake Security Camera Installation Guide. Learn how to transform any space into a secure zone using Dummy Dome Cameras, a cost-effective and unassuming solution for home or business security. From understanding the camera’s benefits to gathering the right tools and step-by-step mounting instructions, this guide covers all you need to know for successful installation. Enhance your safety measures today with our detailed Dummy Dome Camera Installation Guide.
- Understanding Dummy Dome Cameras and Their Benefits
- Gathering Necessary Tools for Installation
- Step-by-Step Guide to Mounting the Camera
- Wiring and Connecting to a Power Source
- Testing and Adjustments for Optimal Performance
Understanding Dummy Dome Cameras and Their Benefits
Dummy Dome cameras, as the name suggests, are fake security cameras designed to resemble real ones but lack any active surveillance capabilities. These devices serve as effective deterrents against potential criminals by giving the illusion of a comprehensive security system in place. Installing Dummy Dome Cameras is an excellent option for homeowners and businesses looking to enhance their security without breaking the bank or undergoing complex setup processes.
One of the primary benefits of these cameras is their ability to make intruders think twice before attempting any malicious activity. The mere presence of these fake cameras can significantly reduce break-in attempts and vandalism, as criminals often prefer easier targets. Moreover, they offer a cost-effective solution for those who want to invest in security without incurring the expenses associated with professional monitoring services or extensive surveillance systems. A Dummy Dome Camera Installation Guide can help users strategically place these devices around their properties for optimal protection.
Gathering Necessary Tools for Installation
Before starting your dummy dome camera installation, ensure you have all the necessary tools and equipment on hand. This typically includes a variety of screws, anchors, and mounting hardware specific to your camera model and chosen location. A Dummy Dome Camera Installation Guide is also invaluable, providing step-by-step instructions tailored to your setup. Don’t forget basic tools like wire strippers, pliers, and a level to ensure proper alignment.
Proper tool selection is crucial for successful installation. Using the right screws and anchors ensures your camera remains secure, even in challenging environments. A level guarantees clear, unobstructed views, while following the guide’s instructions maintains the aesthetic integrity of the dummy dome, ensuring it blends seamlessly into its surroundings.
Step-by-Step Guide to Mounting the Camera
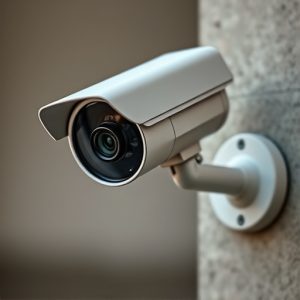
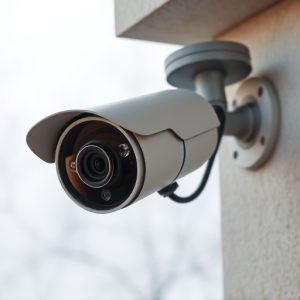
Mounting your dummy dome camera is a crucial step in ensuring its effectiveness as a security measure and a deterrent to potential intruders. Begin by carefully unboxing your camera, taking note of all included components. These usually include the main body, a power cable, a mounting bracket, and instructions specific to your model. Ensure you have a clear view of the area you wish to monitor – position the camera accordingly, aligning it with any existing landmarks or angles that can capture the desired field of vision.
Next, attach the mounting bracket securely to the camera body, ensuring all screws are tightened properly. Using the provided hardware, fasten the bracket to a sturdy surface such as a wall or ceiling, making sure it’s firmly in place and stable. Connect the power cable, plugging one end into the camera and the other into a power source. Test your connection and ensure the camera is powered on, then adjust its position until you achieve the optimal field of view.
Wiring and Connecting to a Power Source
When setting up a dummy dome camera, one of the initial steps involves wiring and connecting it to a power source. This process is straightforward but requires careful attention to detail. Start by locating the power supply unit, which is often included with your security camera system. The power supply is responsible for converting AC current from your outlet into DC current required by the camera.
Connect one end of the power cable to the back of the dummy dome camera, ensuring it’s securely fastened. Trace the other end of the cable to your power source—typically a standard electrical outlet. Keep in mind that some cameras may come with different adapters or cables, so refer to your installation manual for specific guidance. Proper wiring guarantees your security camera operates efficiently, providing clear and continuous surveillance footage.
Testing and Adjustments for Optimal Performance
After completing the dummy dome camera installation, it’s crucial to test and adjust the setup for optimal performance. Start by verifying that the camera captures clear footage both during the day and night. Check if the motion detection is accurate and triggers the recording as expected. Adjust the sensitivity settings to avoid false positives from everyday activities like passing wind or pet movements.
Next, examine the camera’s field of view (FOV) and ensure it covers all necessary areas without capturing unwanted spaces. Use a calibration tool provided by the manufacturer if available, or manually tweak the lens positioning for precise focus and clear images. Regular testing and adjustments will help you fine-tune the security system, ensuring maximum effectiveness as per your Dummy Dome Camera Installation Guide.
A Dummy Dome Camera Installation Guide is an invaluable resource for anyone seeking to enhance their home or business security. By understanding the benefits of these versatile cameras and meticulously following the installation steps, from gathering tools to adjustments for optimal performance, you can create a robust security system that deters crime and provides peace of mind. This guide ensures a straightforward process, empowering you to take control of your safety with confidence.