Dummy Dome Cameras offer a cost-effective, user-friendly security solution for homes and businesses. Installation involves gathering essential tools and hardware, unboxing and inspecting components, selecting a mounting location, assembling the camera, connecting it to power, testing functionality, and regular maintenance like cleaning lenses, lubricating hinges, and recording activities for optimal performance as per the Dummy Dome Camera Installation Guide.
“Elevate your home or business security with professional-grade dummy dome camera systems—an effective, cost-efficient solution. This comprehensive guide, ‘Dummy Dome Camera Installation Guide’, takes you through every step of the process, from understanding these sophisticated systems to testing and maintenance for optimal performance. Learn about the tools and materials required and gain expert insights into installing your dummy dome cameras seamlessly. Enhance your security setup today.”
- Understanding Dummy Dome Camera Systems
- Preparation for Installation: Tools and Materials
- Step-by-Step Installations Process
- Testing and Maintenance Tips for Optimal Performance
Understanding Dummy Dome Camera Systems
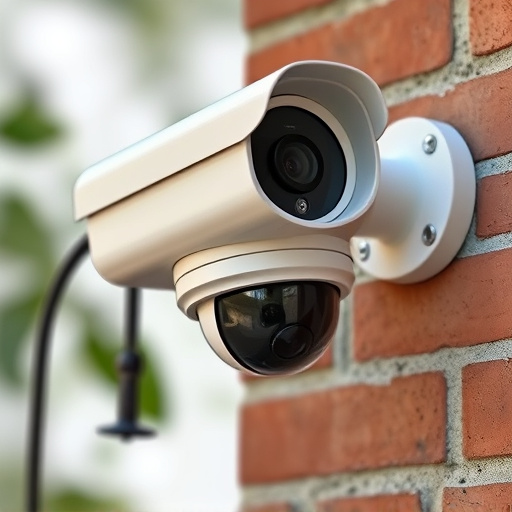
Dummy Dome Camera systems are a popular choice for enhancing security in both residential and commercial settings due to their discreet and realistic appearance. These cameras mimic real surveillance equipment, providing an effective deterrent against potential intruders. Understanding how to install a Dummy Dome Camera is key to maximizing its benefits as a professional-grade security solution.
The installation process typically involves mounting the camera on a wall or ceiling, ensuring it has a clear view of the targeted area. Unlike traditional cameras, dummy dome cameras are designed to be easily installed without complex wiring or costly professional help. A detailed Dummy Dome Camera Installation Guide is provided with most products, outlining step-by-step instructions tailored to different scenarios. This guide ensures users can confidently set up the camera themselves, enhancing their home or business security in a cost-effective manner.
Preparation for Installation: Tools and Materials
Before installing your dummy dome camera, gather all necessary tools and materials to ensure a smooth process. This typically includes a set of basic hand tools like screwdrivers (both flathead and Phillips), wire cutters, pliers, and possibly a level for accurate positioning. For the camera itself, you’ll need mounting hardware that matches the manufacturer’s specifications, often including screws, anchors, and an adjustable bracket. A power drill with various bit sizes can facilitate faster installation by allowing for precise pilot holes.
Additionally, consider having a roll of high-quality cable to connect the camera to its power source and recording device, as well as a dummy security sign to deter potential intruders. Following a comprehensive Dummy Dome Camera Installation Guide will ensure that every step is executed correctly, enhancing your home or business’s security while making it clear that surveillance is in place.
Step-by-Step Installations Process
Setting up a professional-grade dummy security system, specifically the Dummy Dome Camera, is a straightforward process that can enhance your home or business’s security presence. Here’s a simple step-by-step guide to installing your Dummy Dome Camera.
1. Unbox and Inspect: Begin by unboxing your camera, ensuring all components are present, including the dome camera, power adapter, mounting hardware, and instructions. Double-check that you have a suitable location in mind for optimal coverage—a fixed, elevated position is ideal.
2. Prepare the Mounting Surface: Clean and prepare the area where the camera will be installed. This might involve removing existing fixtures or ensuring the surface is smooth and free from obstructions. Use the provided hardware to secure the mounting bracket to the chosen location, ensuring it’s sturdy and level.
3. Camera Assembly: Attach the dome camera to the bracket, following the manufacturer’s instructions. Align the camera correctly to capture the desired field of view. Adjust the pan and tilt settings for a comprehensive view if your model offers such functionality.
4. Wiring and Power Connection: Connect the camera to the power adapter and then plug it into an accessible electrical outlet. Ensure proper grounding to maintain optimal performance and prevent any potential issues. Some models may also include additional sensors or features; configure these as per the user manual.
5. Test and Adjust: Once installed, test the camera’s functionality. Check video quality, audio (if equipped), and movement detection settings. Make adjustments to ensure the camera captures clear footage and alerts you accurately to any activity.
Testing and Maintenance Tips for Optimal Performance
Regular testing and maintenance are essential for ensuring optimal performance from your dummy dome camera installation guide equipment. Start by conducting routine checks to verify functionality, including power supply, motion detection, and video feed quality. This involves testing each component separately and in conjunction with others to identify any potential issues early on.
For maintenance, create a schedule that includes cleaning the camera lenses and sensors to prevent dust or debris buildup, which can affect image clarity. Additionally, lubricate hinges and other moving parts as per manufacturer recommendations to ensure smooth operation. Keep detailed records of all testing and maintenance activities for future reference, allowing you to quickly identify recurring problems and implement effective solutions.
For those seeking a comprehensive solution in enhancing security, this Dummy Dome Camera Installation Guide has provided an insightful journey. From understanding the advanced systems to the meticulous testing process, you now possess the knowledge to transform your security setup. Remember that proper preparation and regular maintenance are key to ensuring optimal performance, making your space a safer and more secure environment.