The Dummy Dome Camera offers an affordable and effective security solution, integrating seamlessly with existing light fixtures. Installation, detailed in the Dummy Dome Camera Installation Guide, involves strategically placing cameras at entry points, doors, windows, and alleys for enhanced motion detection and clear footage day or night. Proper setup not only boosts security but also provides valuable evidence. The guide emphasizes preparing mounting surfaces, organizing hardware, and selecting optimal locations for visibility and stability, with an extra stabilization step using electric tape. Post-installation testing ensures functionality, and regular maintenance is vital for optimal performance.
“Discover the transformative power of enhancing your home or business security with a Dummy Dome Camera Installation Guide. This comprehensive resource delves into the intricacies of understanding the features and benefits of these versatile security cameras, guiding you through strategic location selection and meticulous preparation.
Learn how to install your dummy dome camera step-by-step, ensuring optimal performance and peace of mind. From testing to maintenance tips, this guide is your companion in fortifying your security system effectively.”
- Understanding Dummy Dome Camera: Features and Benefits
- Choosing the Right Location for Installation
- Preparing the Mounting Surface and Hardware
- Step-by-step Guide to Dummy Dome Camera Installation
- Testing and Maintaining Your New Security System
Understanding Dummy Dome Camera: Features and Benefits
The Dummy Dome Camera is a clever security solution for those seeking an efficient, cost-effective way to enhance their home or business’s safety without breaking the bank. This innovative device offers a unique twist on traditional security cameras by resembling a regular light fixture, seamlessly blending into any environment. Its primary function is to deter potential intruders with a simple yet powerful presence.
This camera’s installation process, often referred to as a Dummy Dome Camera Installation Guide, involves mounting it in a location visible to passersby or individuals entering the premises. The design mimics a real security camera, complete with LED lights that can be programmed to illuminate during suspicious activity. This feature not only adds an extra layer of protection but also serves as a powerful deterrent, encouraging potential intruders to think twice before causing any trouble.
Choosing the Right Location for Installation
When installing a security camera with lights, selecting the optimal location is half the battle won. For a Dummy Dome Camera, consider positioning it in areas prone to activity and visibility issues. This could be entry points like doors, windows, or alleys, where motion detection can deter potential intruders effectively. The camera’s light features will also serve as a deterrent when well-placed, illuminating dark spots and potentially scaring off unauthorized individuals.
In your Dummy Dome Camera Installation Guide, emphasize the importance of strategic placement for optimal coverage. Ensure the camera has a clear view without obstructions to capture quality footage day or night. Consider environmental factors like weather exposure and accessibility for maintenance. Proper positioning will not only enhance security but also provide valuable evidence in case of an incident, ensuring peace of mind for homeowners or business owners alike.
Preparing the Mounting Surface and Hardware
Before installing a dummy dome camera, preparing your mounting surface and hardware is crucial for a seamless setup. Start by ensuring the area where the camera will be placed is clean and free from any debris or obstacles that might hinder its placement. Inspect the surface to make sure it’s sturdy enough to support the weight of the camera and its components. If necessary, use appropriate tools to level and secure the base, following safety guidelines throughout the process.
Gather all the required hardware, including mounting brackets, screws, cables, and any lighting components. Organize them in a logical manner to streamline the installation process. Refer to the Dummy Dome Camera Installation Guide for detailed instructions on which parts go where. This will ensure that every component is correctly positioned, allowing for easy connections and a secure fit.
Step-by-step Guide to Dummy Dome Camera Installation
To install a Dummy Dome Camera, follow this straightforward step-by-step guide:
1. Preparation: Gather all necessary tools and components, including your dummy dome camera, mounting hardware (usually included with the purchase), screws, a drill, and an electric tape. Choose a suitable location for optimal visibility and security coverage. Ensure the area is within range of power outlets if wireless cameras are used.
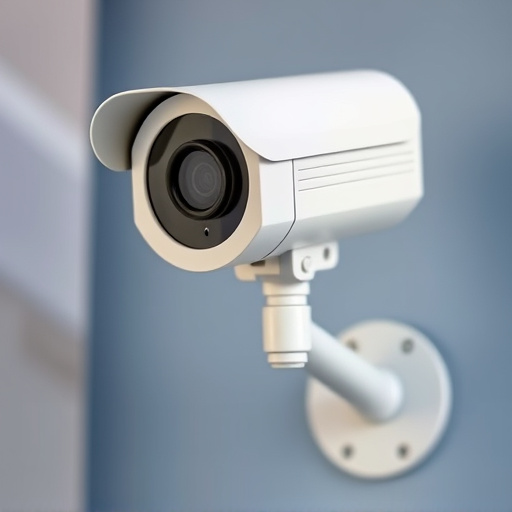
2. Mounting: Start by securing the camera’s base to a sturdy surface using the provided hardware. Most dummy dome cameras have a flexible neck or adjustable arm that allows you to position the camera in various angles. Attach the camera securely, ensuring it cannot be easily moved or tilted. Use electric tape to further stabilize the camera if needed, especially in areas prone to vibrations.
Testing and Maintaining Your New Security System
After installing your new security camera shell with lights, it’s crucial to thoroughly test its functionality. Begin by ensuring the dummy dome camera is correctly positioned and securely fastened. Then, activate the system and check all connections. Verify that each light functions properly, illuminating the intended areas without causing excessive glare or shadowing. Use a test device or your smartphone app to confirm live video feed and audio quality. This initial testing will ensure your security camera provides clear, actionable footage.
Regular maintenance is equally vital for optimal performance. Periodically clean the camera lens with a microfiber cloth to prevent smudges or dust buildup. Check battery life, especially in wireless models, and replace them as needed. Keep an eye on the storage capacity of recorded footage and delete or archive old videos to avoid overflow. Additionally, update firmware regularly to access improved features and security enhancements. Following this simple Dummy Dome Camera Installation Guide will ensure your security system remains reliable and effective for years to come.
The installation of a dummy dome security camera, as detailed in this Dummy Dome Camera Installation Guide, offers an effective deterrent for potential intruders while providing peace of mind. By strategically placing these cameras and ensuring proper setup, you enhance your home or business’s security without breaking the bank. Remember, a well-informed installation process is key to leveraging the full benefits of this accessible and efficient security solution.