The Dummy Dome Camera Installation Guide offers step-by-step instructions for integrating a key component of mock surveillance systems—the dummy dome camera. Users can customize its behavior, including angle, zoom, and motion detection sensitivity, to blend seamlessly with real security equipment. The guide provides strategic mounting, view alignment, and configuration settings for an immersive simulation that deters intruders and enhances system realism. By ensuring compatibility with chosen cameras and completing a pre-installation checklist, users can set up a robust and effective surveillance network.
Looking to install a mock surveillance system? This comprehensive Dummy Dome Camera Installation Guide is your go-to resource. Learn how to transform your space with this realistic simulation, perfect for training, testing, or creating a secure environment. From understanding the key components and ensuring compatibility to step-by-step mounting and configuration, we’ve got you covered. Discover essential tools, site prep guidelines, and testing tips to ensure optimal performance. Get started today!
- Understanding Your Dummy Dome Camera
- – Components and their functions
- – Compatibility with surveillance systems
- Pre-Installation Checklist
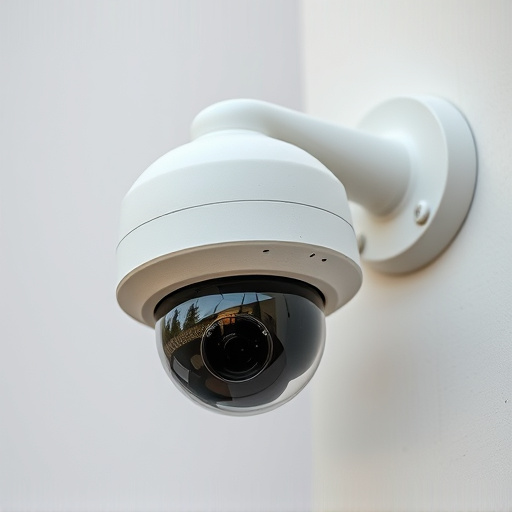
Understanding Your Dummy Dome Camera
When setting up a mock surveillance system, one of the key components is the dummy dome camera. This device is designed to mimic real security cameras and play a crucial role in creating an effective deception. Understanding its features and functionality is essential for a successful installation. The Dummy Dome Camera Installation Guide provides step-by-step instructions on how to properly integrate this component into your simulated surveillance network.
The dummy dome camera typically includes adjustable settings for angle, zoom, and motion detection sensitivity. These adjustments allow you to customize the camera’s behavior, ensuring it blends seamlessly with real surveillance equipment. The guide will walk you through the process of mounting the camera at strategic locations, aligning its view, and configuring the settings to match the appearance and functionality of a genuine security camera. This meticulous setup is vital for creating an immersive and realistic simulation, deterring potential intruders, and enhancing overall system effectiveness.
– Components and their functions
A mock surveillance system, while primarily a training tool, is an intricate network of components designed to mirror real-world security setups. At the heart of this lies the Dummy Dome Camera, a crucial element that mimics the appearance and functionality of a standard security camera. This artificial eye acts as a sentinel, capturing and transmitting footage, just like its functional counterpart. Its installation involves strategically placing it in areas intended for observation, ensuring it aligns with real-world positioning for realistic training scenarios.
Complementing the Dummy Dome Camera is the control panel, often referred to as the brain of the system. This component manages video inputs from the camera(s), allowing users to monitor feeds, record incidents, and simulate various security situations. Other essential parts include dummy power supplies, cables, and connectors, which facilitate the seamless integration of the system. Together, these components offer an installation guide for setting up a mock surveillance environment that accurately reflects real-world security practices, catering to training purposes and enhancing preparedness.
– Compatibility with surveillance systems
When setting up a mock surveillance system, it’s crucial to consider compatibility with your chosen cameras. A Dummy Dome Camera Installation Guide is an excellent resource for beginners and experienced users alike. These guides typically outline the technical specifications required for seamless integration with existing surveillance systems. Look for instructions on data transfer rates, video resolution, and power requirements that align with your camera models.
Compatibility ensures smooth operation and accurate monitoring. For instance, some dummy cameras are designed to mimic real-time video feeds, while others offer motion detection capabilities. By understanding these features and their compatibility with your system, you can create a robust and effective surveillance network using the guide’s step-by-step instructions.
Pre-Installation Checklist
Before beginning your dummy dome camera installation, it’s crucial to complete a thorough pre-installation checklist to ensure a seamless setup. This process involves verifying that your chosen location meets all necessary requirements. Ensure there is adequate space for the camera and its mounting hardware, with clear line-of-sight access to the area you wish to monitor. Check for nearby power outlets or consider installing an extension cord in advance to accommodate the camera’s electrical needs.
Additionally, confirm that your network connection is stable and strong enough to support video transmission. Test the internet speed to ensure it meets the minimum requirements for smooth, uninterrupted surveillance. Remember, a successful dummy dome camera installation starts with meticulous planning and attention to detail during this critical pre-installation phase.
A dummy dome camera installation guide is a valuable resource for anyone looking to enhance their home or business security without the hefty price tag of professional surveillance systems. By understanding the components and compatibility of your dummy dome camera, you can ensure a seamless setup that provides peace of mind. With a thorough pre-installation checklist, you’ll be equipped to navigate the process smoothly, allowing you to focus on what matters most: safety and security.