The Dummy Dome Camera Installation Guide offers step-by-step instructions for optimal placement and adjustment. Key considerations include choosing unobstructed locations with good lighting, avoiding obstructions, and securing the camera housing to a suitable surface. The guide emphasizes weatherproofing and regular maintenance for durable outdoor security.
“Enhance your security without the electronics with our comprehensive guide on Dummy Dome Camera Installation. Learn how these innovative devices, devoid of internal circuitry, offer a subtle yet effective solution for surveillance. This guide covers everything from understanding the basics of dummy dome cameras to choosing optimal installation spots and ensuring weatherproof protection. Discover expert tips on assembly, maintenance, and longevity to make your investment last. Elevate your security measures with our Dummy Dome Camera Installation Guide.”
- Understanding Dummy Dome Camera Basics
- Choosing the Right Location for Installation
- Assembly and Mounting Techniques
- Weatherproofing Considerations
- Maintenance and Longevity Tips
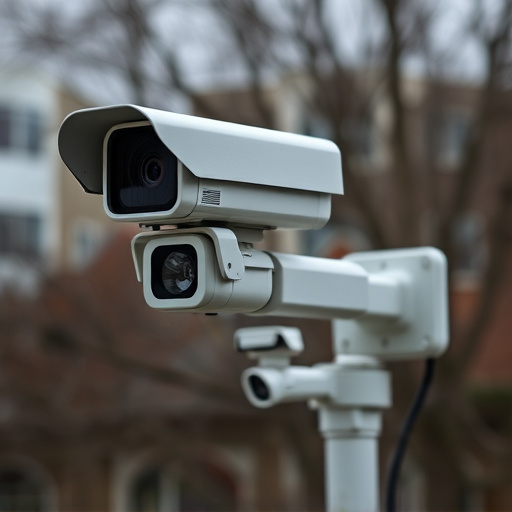
Understanding Dummy Dome Camera Basics
A Dummy Dome Camera, often seen as a security measure in various settings, is a basic yet effective visual deterrent. Unlike traditional cameras that house intricate electronics, dummy domes mimic the appearance of real surveillance equipment but lack the internal circuitry. This unique design makes them an ideal choice for those seeking a simple, low-maintenance security solution.
When it comes to installation, a Dummy Dome Camera Installation Guide is beneficial for ensuring proper placement and effectiveness. The process involves strategically positioning the dome on a pole or wall, aligning it with the desired surveillance area, and securing it firmly. By following this guide, users can make adjustments to angle, height, and visibility, maximizing the camera’s impact without the need for complex wiring or advanced technical knowledge.
Choosing the Right Location for Installation
When setting up a security camera housing without electronics, selecting the optimal location for installation is a crucial first step. Opt for a spot that offers unobstructed views of the area you wish to monitor. This might involve assessing rooftops, walls, or trees for the best angle and coverage. Consider factors like lighting conditions, ensuring ample natural light during the day, as this enhances camera visibility and image quality.
For a Dummy Dome Camera Installation Guide, it’s essential to choose locations free from potential obstructions that could block the camera’s field of view. Walls, for instance, should be solid and smooth, avoiding any openings or decorations that might disrupt the camera’s line of sight. The goal is to create a clear, unobstructed path for the camera to capture high-quality footage effectively.
Assembly and Mounting Techniques
The assembly and mounting of a security camera housing, specifically designed as a dummy dome camera, involve careful consideration to ensure optimal placement and effectiveness. This process begins with meticulously following the manufacturer’s installation guide, which provides a detailed Dummy Dome Camera Installation Guide. Typically, this involves securing the housing to a suitable surface using brackets or screws, ensuring stability and alignment. The mounting technique should take into account factors like camera angle, distance, and line of sight, crucial for capturing clear and comprehensive footage.
Once mounted, the housing’s design plays a vital role in enhancing security. Its sleek and realistic dome appearance blends seamlessly with the environment, deterring potential intruders without drawing unnecessary attention. This stealthy approach is particularly beneficial in public spaces, businesses, or homes where a visible security system might evoke alarm or encourage malicious behavior. The housing’s construction should be robust yet discreet, protecting the internal components from weather conditions and ensuring the camera’s longevity.
Weatherproofing Considerations
When considering a weatherproof security camera housing, especially for outdoor installations, it’s crucial to understand the environmental challenges your device will face. The dummy dome camera installation guide emphasizes the importance of proper sealing and protection against varying weather conditions. This includes protection from rain, snow, sleet, extreme temperatures, and UV radiation. A high-quality housing should be designed with a tight seal around all components to prevent water intrusion, ensuring the longevity and performance of your security system.
The exterior of the camera housing plays a vital role in weatherproofing. Look for materials like durable plastic or metal that can withstand outdoor elements. Additionally, consider features such as gaskets or O-rings that create a waterproof barrier around the lens and other openings. Regular maintenance, including cleaning and applying protective coatings, is also essential to keep your security camera in top condition, ensuring optimal visibility year-round.
Maintenance and Longevity Tips
Proper maintenance is key to ensuring your security camera housing, especially a dummy dome design, lasts for years. Regularly inspect the housing for any signs of damage or wear and tear, cleaning it gently with a soft cloth and mild soap to remove dust and dirt. Avoid using harsh chemicals that could damage the material.
For longevity, consider storing your Dummy Dome Camera Installation Guide in a dry, protected location when not in use. Extreme temperatures can affect the housing’s integrity over time, so keeping it indoors or in a shaded area is ideal. Additionally, periodic checks for loose connections and secure fastenings will prevent unexpected failures and maintain optimal camera performance.
A security camera housing without electronics, or a dummy dome camera, offers an affordable and aesthetically pleasing alternative for home or business security. By following this Dummy Dome Camera Installation Guide, you’ve learned the basics of selection, placement, assembly, weatherproofing, and maintenance. Now armed with these tips, you’re ready to enhance your property’s security while adding a subtle, yet effective, visual deterrent against potential intruders.